
🎒 Resources
📖 Introduction
I bet anyone who has worked with Microsoft SQL Server databases already knows sqlcmd. In this post, I’ll discuss the new Go-based version of this tool. Specifically, I’ll explain how you can leverage it to streamline your development workflow when interacting with Microsoft SQL Server databases.
✔️ Prerequisites
Although having Docker is not strictly required for working with SQL Servers, the scenarios I’ll be discussing rely on Docker. So please ensure that you have Docker installed on your machine.
Now let’s install the new sqlcmd tool. Depending on your platform, you have two options: use a package manager or download the binary directly from the GitHub repository’s releases page. Personally, I recommend the first option. Since I’m on macOS, I’ll use Homebrew:
| |
Verify your installation:
| |
You should see something like this below:
| |
Anything above and equal to 1.0.0 should be fine. Let’s move on!
📁 Use Cases & Scenarios
I will focus on the developer’s point of view: whether you’re scaffolding a new project or looking to make your CI/CD pipeline more robust, the new sqlcmd can be invaluable. I will demonstrate it in two distinct scenarios - both of which are fairly common in my daily work.
Scenario 1: Spin Up a SQL Server Instance
Using sqlcmd, you can quickly create a SQL Server instance in a Docker container. While I typically prefer a Devcontainer with a pre-configured docker-compose.yml file, there are scenarios where this approach does not fit — such as reproducing a bug on a legacy system or validating changes across different SQL Server versions.
The following command will start the latest Developer Edition version of SQL Server listening on port 1433 - or the next one available on your system:
| |
Depending on your connection’s speed, it might take a few minutes to pull the requested Docker image. Once it is done, you will see something like this:
| |
Nice! But how can you connect to this instance? 🤔
| |
You will see something like this:
| |
So many choices! Whatever platform or programming language you use, probably there is an option to connect to this SQL Server instance.
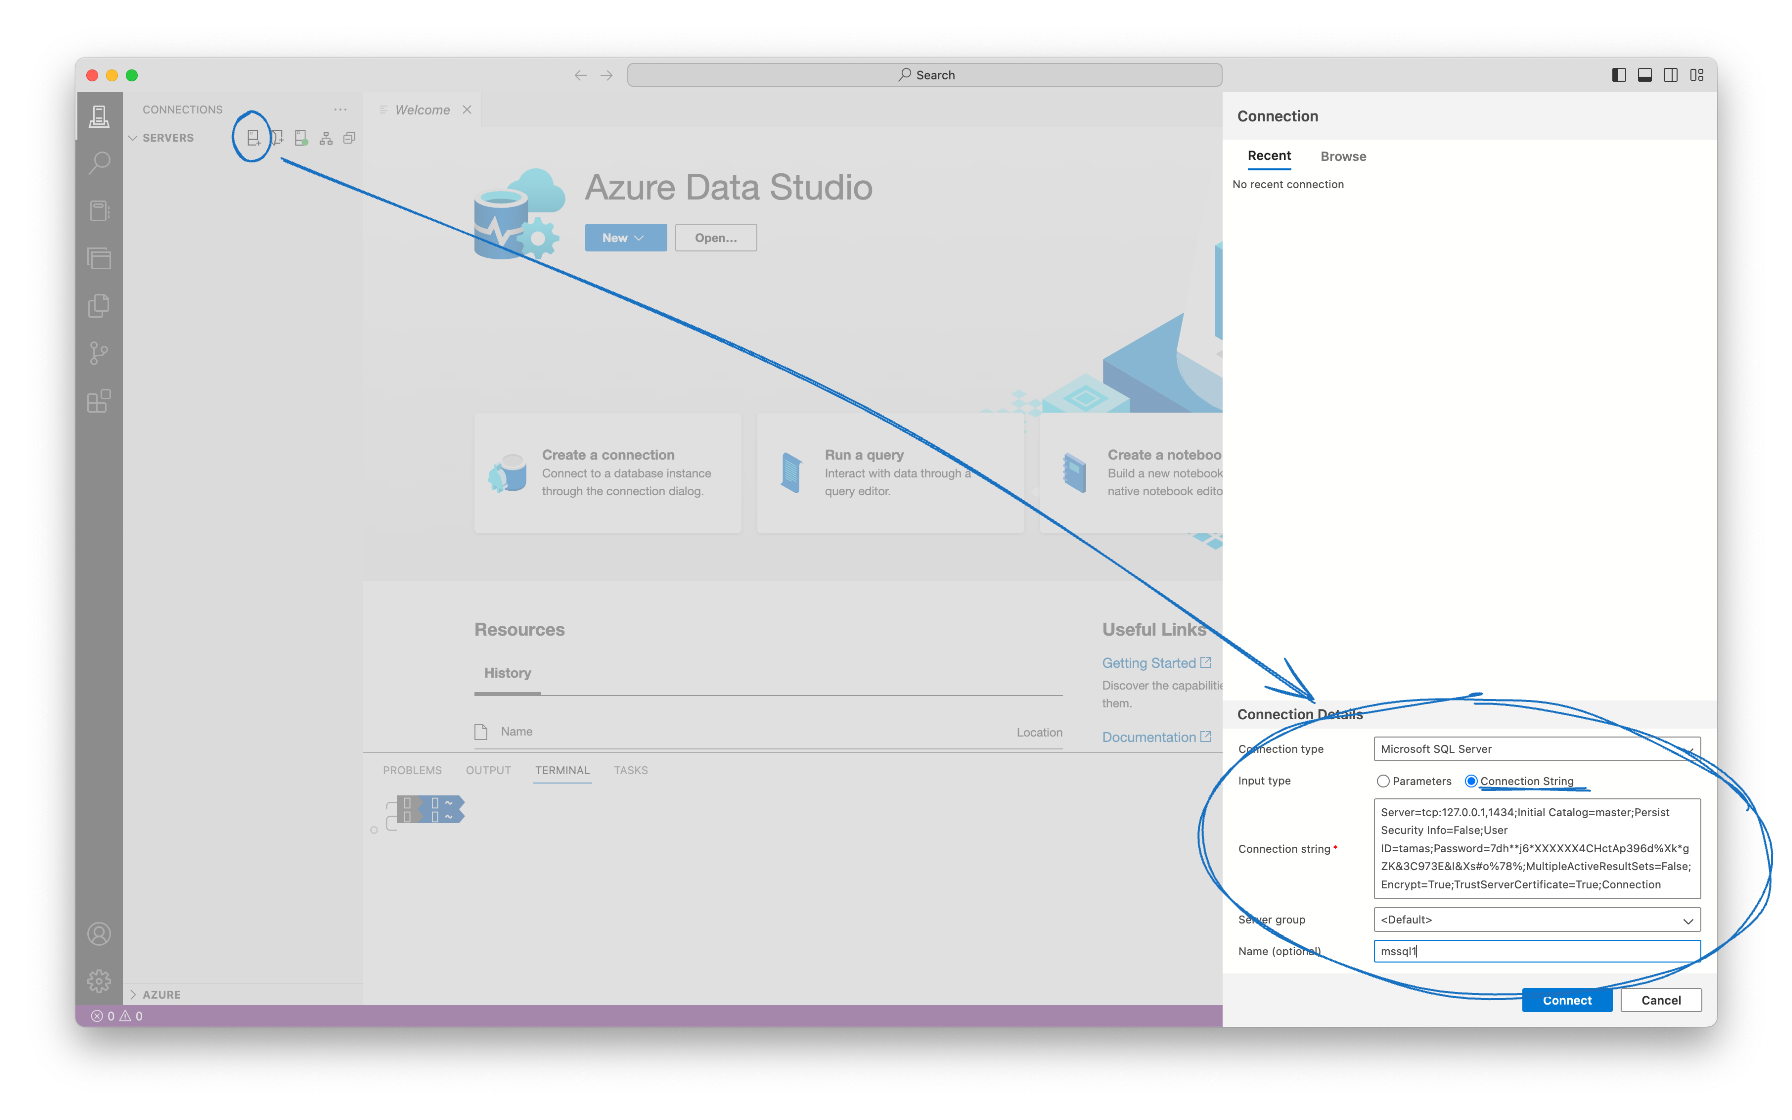
I’ll use Azure Data Studio connecting to the SQL Server instance - feel free to use your preferred client. The steps are straightforward:
- Copy the ADO.NET connection string.
- In Azure Data Studio, click on the New Connection button.
- Change the Input type to Connection String.
- Paste the connection string into the Connection String field.
- Click Connect.
And you’re in!
A Few Words About Contexts
We’ve set up one SQL Server instance using sqlcmd, but you’re not limited to just one instance. You can create multiple instances, even with different SQL Server versions. For example, let’s set up an SQL Server 2019 instance:
| |
After a few minutes, your SQL Server 2019 instance should be running. Connect to it using the same method (sqlcmd config connection-strings). If you’ve lost the connection string for the other instance - don’t worry: we can retrieve it.
This is where the concept of contexts comes into play.
Every instance and its configuration belong to a context. The sqlcmd stores related information in the .sqlcmd/sqlconfig file located in your home directory.
Fetch the Configuration File
While you can view the file’s content using the cat command, it’s better to use config view:
| |
The result should be something like this:
| |
This YAML file becomes handy when we need to work with your contexts and instances during automation or CI/CD pipelines.
Currently, I have two contexts: mssql1 and mssql2. According to the currentcontext field, the mssql2 context - the later one I’ve created - is the active. To switch to the mssql1 context, the config use-context command will do the trick:
Switching Between Contexts
| |
Now every command I issue via the sqlcmd tool will interact with the mssql1 instance. Did I mention that you can execute SQL scripts directly from the command line on the active context’s database?
| |
That’s it! No need to fuss with connection strings and database clients to execute a simple query.
Prepare Some Test Data
Before we proceed to the second scenario, let’s do a quick exercise: scaffold a small database with some sample data. Since we have an open connection in Azure Data Studio, stay there and execute the following SQL scripts in the comfort of the graphical user interface.
Open a new query window (CMD / CTRL + N), paste the following SQL scripts, and execute them:
| |
After executing the queries, insert some sample data into the tables:
| |
To be honest, I don’t know why I chose precipitation data for this example, as it has no relevance to the topic. Feel free to replace it with something more meaningful.
Backup Test Database
Paste the following into a new query window and execute it:
| |
This command will create a backup of the PrecipitationDB database in the /var/opt/mssql/data directory. We have only one thing left to do: fetch the .bak file from the Docker container to our local machine.
First, verify the container name of the SQL Server instance with the docker ps command. The NAMES column will show the container names. Now copy the .bak file from the mssql1 container to your local machine:
| |
This will fetch the PrecipitationDb.bak file from the mssql1 container’s volume to your machine’s current directory:
| |
Fantastic! 🎉 We have a backup of the PrecipitationDB sample database. But why did we do all this?
Scenario 2: Spin Up a SQL Server Instance With a Pre-Existing Database
There are several reasons why a developer might need to work from database backups. For instance, you might need to investigate a failing automated test, and the QA engineer has provided a backup of the database used during the test. Alternatively, you might need to switch between different versions of your product’s code base and use a database snapshot for each version to address issues caused by schema differences.
So let’s create a new SQL Server instance, but this time we will include the PrecipitationDB database - using the PrecipitationDb.bak file we fetched earlier.
| |
Now here is the catch: currently, the sqlcmd tool does not support anything than HTTP or HTTPS URLs - in other words, you cannot use a local file path to provide the .bak file to the tool. So, you need to host the .bak file somewhere and provide the URL with the --using flag.
Most of the cases this might not be an issue, probably these backups are already stored in a cloud storage service like Azure Blob Storage or AWS S3. Or the CI/CD pipeline has a durable storage where failed jobs’ artifacts are stored.
Until the sqlcmd tool supports local file paths, I have a relatively simple workaround: running a local HTTP server to serve my .bak files - using the Nginx Docker image.
Serve Your Backup Files Locally
⏩ If you have a decent web server where you can store your
.bakfiles, skip to the next section.
Here is the Dockerfile:
| |
Build the image:
| |
Run the container when it is needed:
| |
Feel free to integrate this into your projects’ docker-compose.yml file, so you will have a local HTTP server bound to your workflow up and running alongside other services.
⚠️ Important: You need to get the local IP address of your machine to access the HTTP server from the Docker container created by the sqlcmd tool on the fly.
I’m on macOS, so I can get my IP address with the following command:
| |
🤔 Why is it so complicated?
As we are mimicking a real-world scenario, it naturally requires some extra effort. In a production environment, you would have a proper storage service to host these files.
Do you have a simpler solution? Share it with us in the comments below! 🙏
So, my IP address is 192.168.0.109 - I will refer to it in the next command, but please don’t forget to replace it with your own IP address.
Download and Attach the Database
Now - as we have the proper URL at hand - let’s create the mssql3 instance:
| |
Get the connection string for the mssql3 instance - like we did earlier:
| |
☝️ cs is a shorthand for connection-strings
Add the connection string to Azure Data Studio and connect to the mssql3 instance. Note that the connection string will contain the InitialCatalog attribute.
Now you should find the PrecipitationDB database with the Locations and PrecipitationRecords tables and the sample data we’ve created earlier on the mssql1 instance:

Cleaning Up
Once you have finished with the mssql3 instance, you can delete it using the following command:
| |
This will remove the mssql3 instance and its related context, reverting to the previous context—in this case, the `mssql2’ context.
If you prefer not to delete the instance but want to stop it temporarily, you can use the stop command:
| |
Please note, stopping an instance does not switch the context. You need to change the context manually to stop another one in a different contexts. I hope you already know how to start the instance again, but just in case:
| |
Fantastic! Here is what we’ve done so far:
- Created a SQL Server instance (mssql1) with minimal effort.
- Set up a second SQL Server instance (mssql2) using a different version (2019 instead of 2022), without worrying about port conflicts or other issues.
- Discussed the concept of contexts and how to switch between them.
- Created a sample database (
PrecipitationDb), populated it with data, and backed it up. - Set up a third SQL Server instance pre-populated with the
PrecipitationDBdatabase.
🤔 Conclusion
As we approach the end of this post, you might be wondering: is all the hassle with the sqlcmd tool worth it? Probably no. The features I have shown are very helpful in some specific cases - especially when working with CI/CD pipelines and automated tests.
I have only scratched the surface. It’s up to you how you can leverage the sqlcmd tool in your daily work. Here are some ways I use it:
Create a developer tenant of your product: spin up a SQL Server instance with a pre-populated database, extract the connection string using a script, and inject it into the configuration file of your application. Teardown is as simple as running
sqlcmd delete. Wow! 🤯Incorporate a database backup into your automated tests: on a failed case, create a .bak file from the database automatically. Developers could use this backup to investigate the issue with the
--usingflag ofsqlcmd.Embrace the power of contexts: switch between different SQL Server instances during development. Skip the hassle of running migrations back and forth, just switch the context and you are good to go.
I hope you enjoyed this post and found it useful. I wonder if you find my ideas helpful - do you have a better way to deal with such scenarios? Then share it with us in the comments below!
Until next time! 👋