I recently had the opportunity to participate in a web scraping project. Since I hadn’t done this kind of project before, I kicked off the process by employing my trusted approach of conducting research in the field. In this post, I’ll share my findings and insights on this topic.
What is web scraping?

Web scraping is a two-step process. First, we need to retrieve a web page, just like a browser would do. Then we need to parse the document and extract all the information we need from it. Oftentimes, we also need to process and clean the data to make it usable. Although this process is not limited to fetching and parsing HTML documents, this is the most common use case, and this is what we are going to focus on in this post.
Tools of the trade
Given the rich history of web scraping and the availability of numerous excellent libraries and frameworks, there’s no need to reinvent the wheel. Rather than developing our own web scraper, we’ll be utilizing the following tools:
- Scrapy - a Python framework for creating web spiders
- Jenkins - the de facto CI/CD server to help us schedule and provision our scraping jobs
- Docker - so we won’t make a mess on our local machine
Set the table
Firts things first, we are going to set up a Jenkins server with a customised build agent. With this setup, we will be able to run our spiders in a controlled environment, and Jenkins Pipeline will provide us a decent UI for configuring and monitoring our web scraping jobs.
Build the Docker images
We will build a Jenkins image using the official jenkins/jenkins image as a base. The only reason we need to build a custom image is to solve the permission issues with /var/run/docker.sock that arise when we try to run Docker inside the Jenkins container (the situation is called Docker in Docker, aka dind). You probably never want to do this in production, but for our purposes, it is fine.
| |
The entrypoint.sh script is responsible for adjusting the permissions of /var/run/docker.sock and starting the Jenkins server.
| |
Save both files to a directory, like jenkins. Don’t need to build the image yet, we will do it later via docker compose.
That’s all we need for Jenkins, now let’s define our build agent. In our scraping pipelines, Jenkins will spin up a Docker container to run our Scrapy spiders. We will use the official Jenkins agent image as a base, and install Scrapy using apt-get.
| |
So far so good, let’s save this Dockerfile in a different directory, like scrapy-jenkins-agent.
Docker Compose
I prepared a docker-compose.yml file to make things easier. Nothing fancy, just the two images we defined above, and a volume to persist the Jenkins data.
| |
Feel free to change the image names to your liking. Also, if you’re not happy with the port numbers (8081 and 50001), you can change them as well.
Now. As the scrapy-jenkins-agent image will be used only by Jenkins, it’s a good idea to build it before we start the Jenkins server. We can do this by running the following command:
| |
If you feel yourself better, you can create the jenkins_home directory:
| |
Feel free to skip this step, Docker will create it for you if it doesn’t exist.
That’s it, now spin up the Jenkins server:
| |
Configure Jenkins
If you’re new to Jenkins, no need to worry—we’ll guide you through the initial setup, keeping it straightforward. Open your web browser and go to http://localhost:8081. Follow the instructions, and you’ll be prompted to provide the initial admin password.
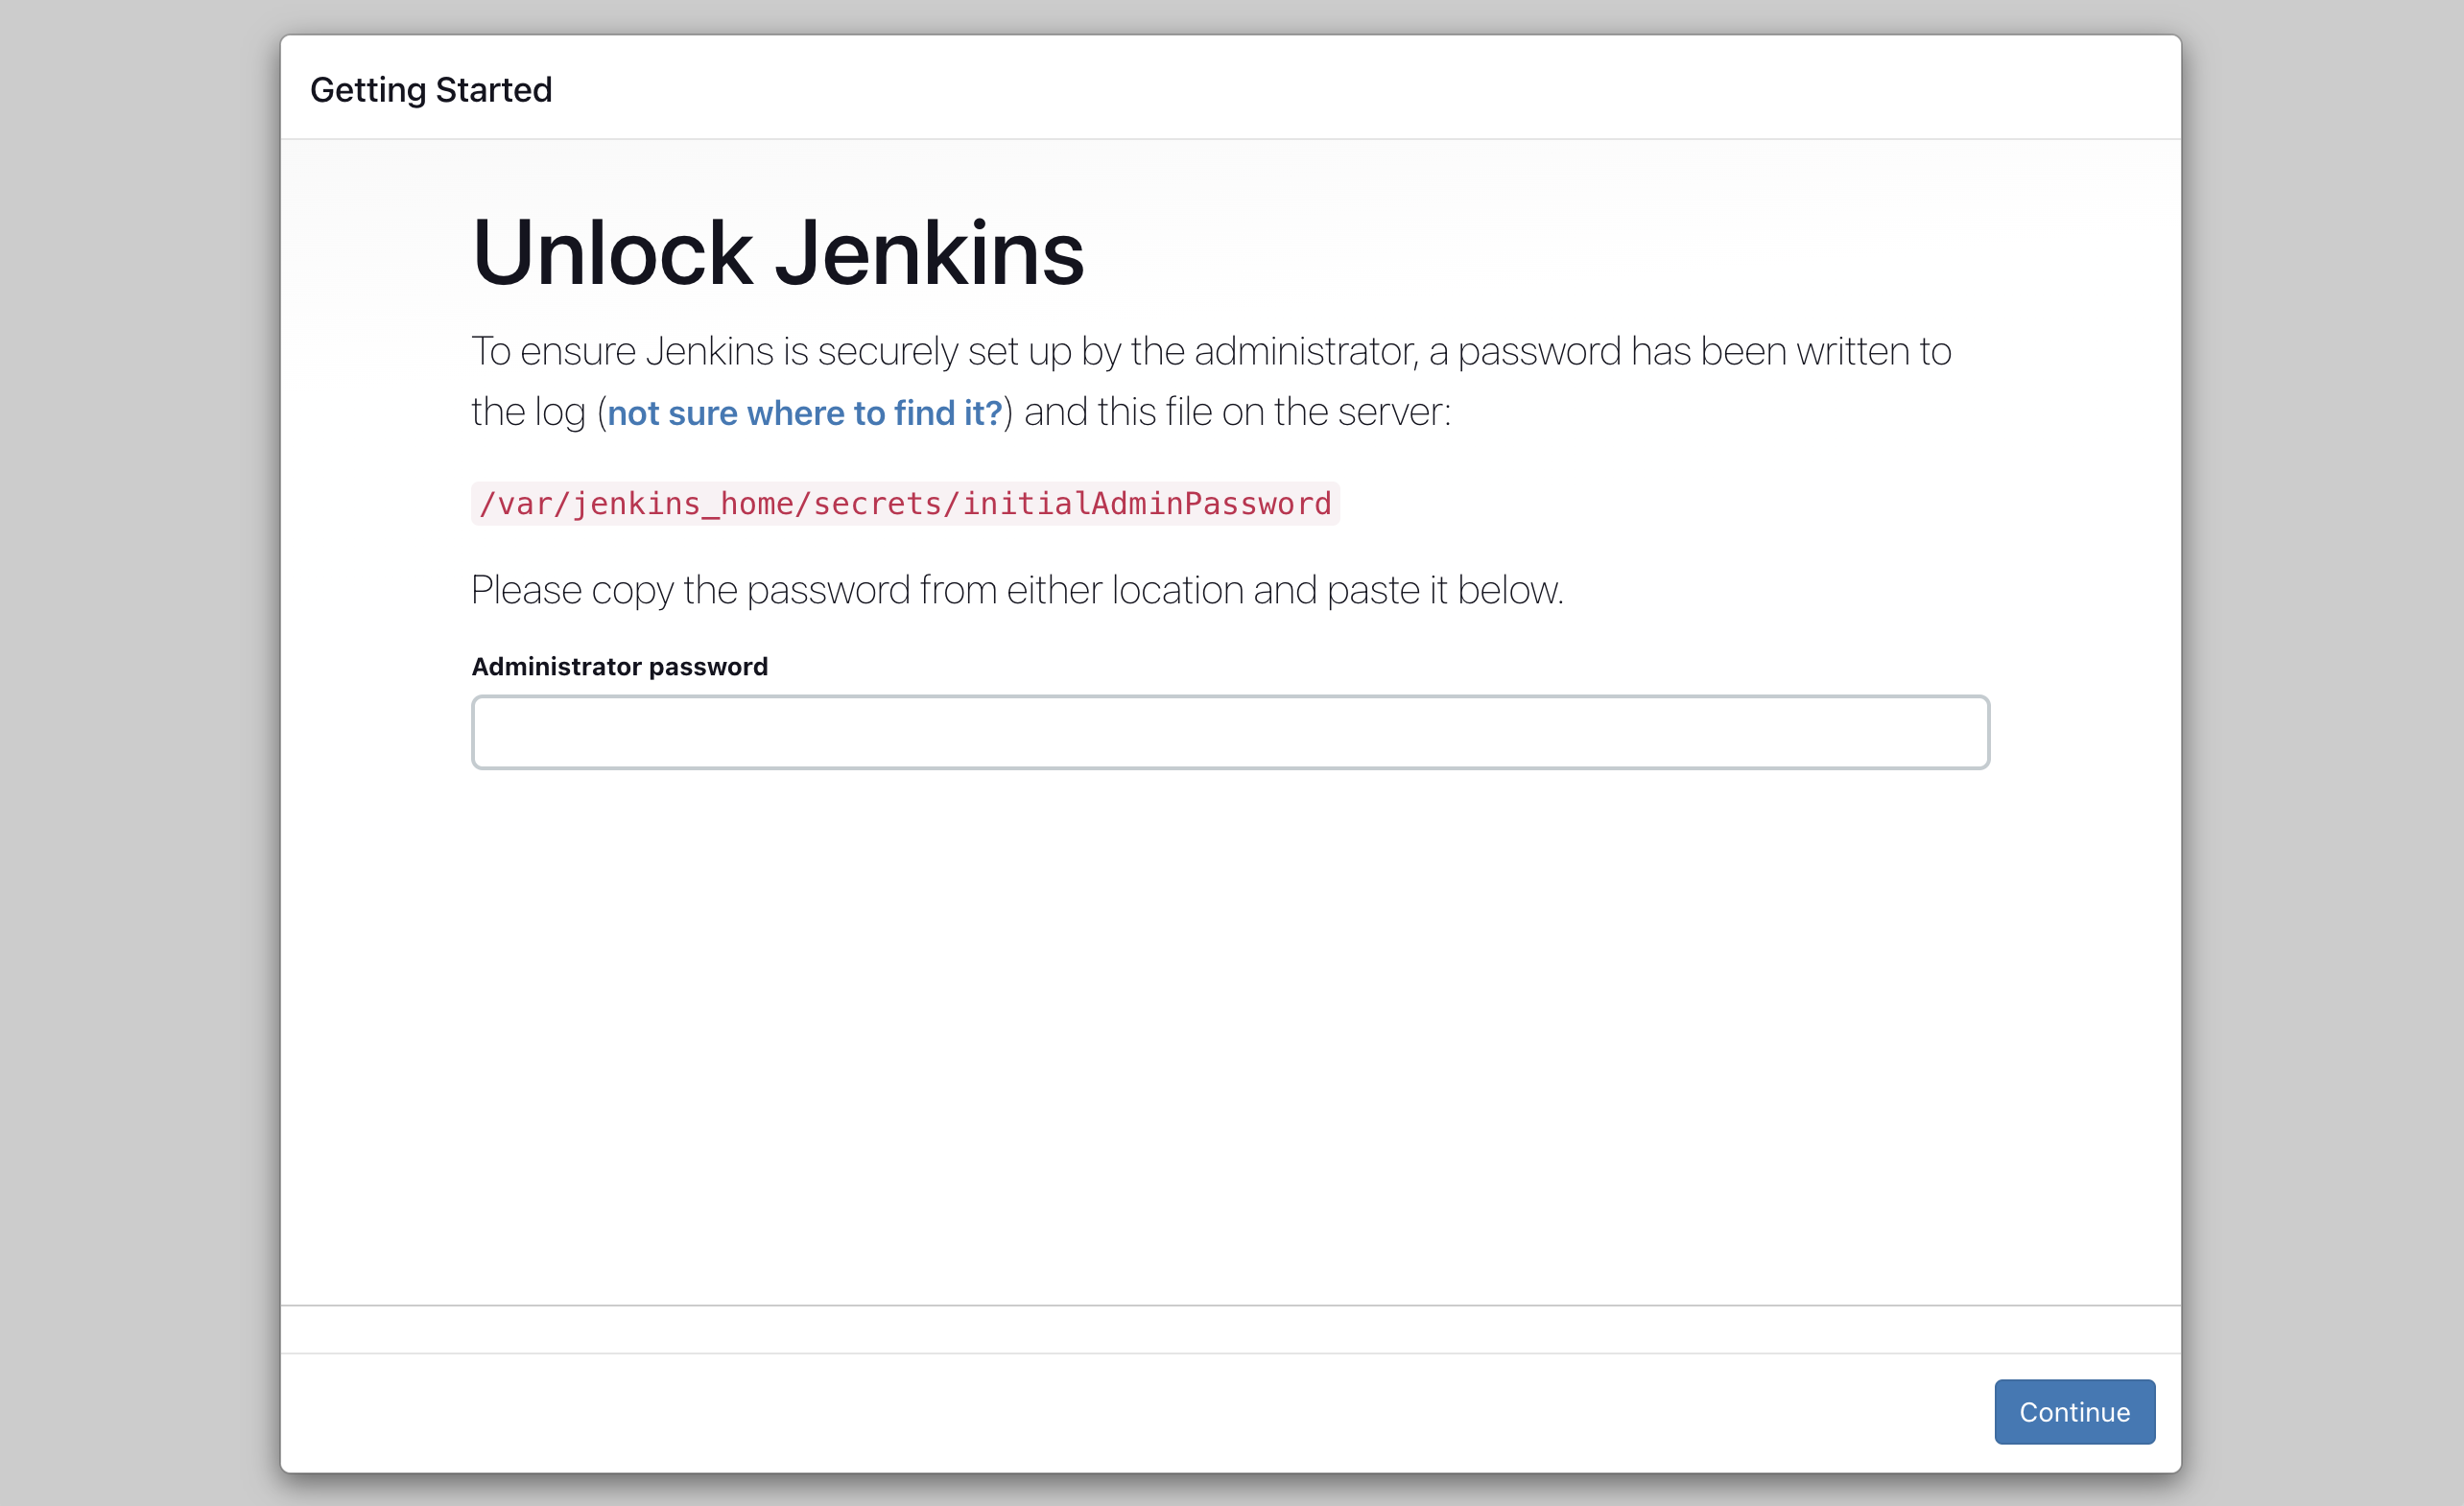
In case you can’t access the container logs, no problem. You can locate the password in the jenkins_home/secrets/initialAdminPassword file. Copy and paste it to the input field and click on Continue. But how to do this if you’re running Jenkins in a Docker container? 🤔
The answer:
| |
Excellent! Now, proceed with the initial setup. Choose “Install suggested plugins” and wait for the operation to complete. Afterward, create an admin user (remember to save the password) and click “Save and Finish.” Keep the Jenkins URL unchanged and click “Save and Finish” once more. You’re all set!
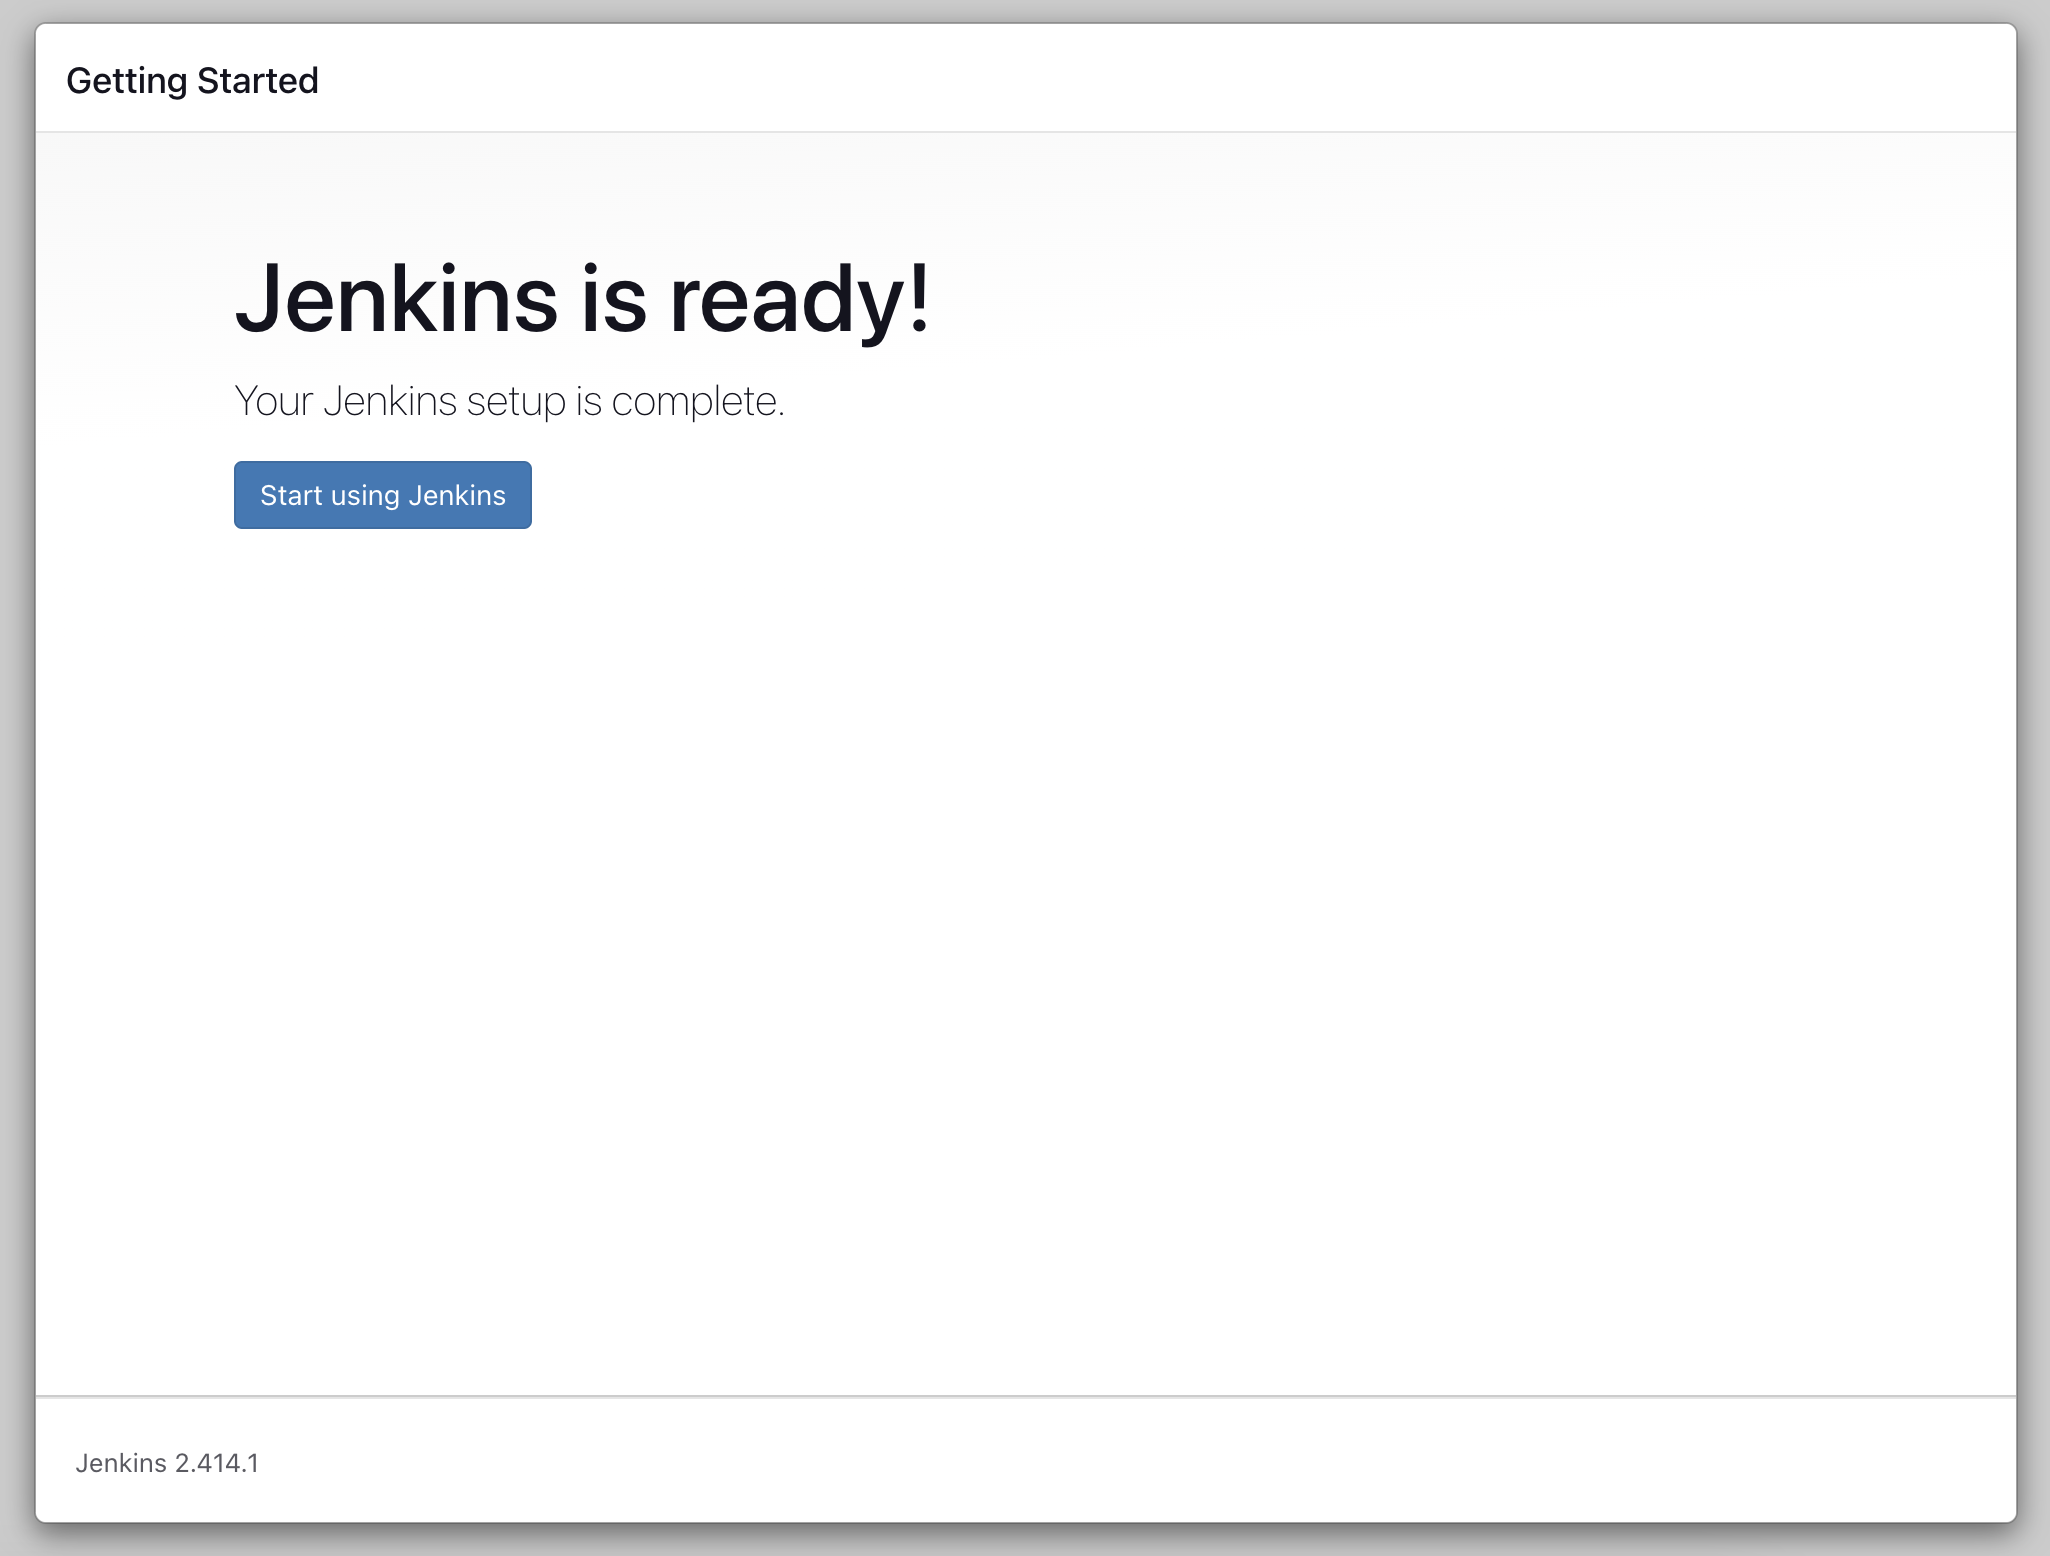
Finally, click on Start using Jenkins. Boom 🤜 💥 🤛 you have a brand new Jenkins server up and running! 🎉
Install the necessary plugins
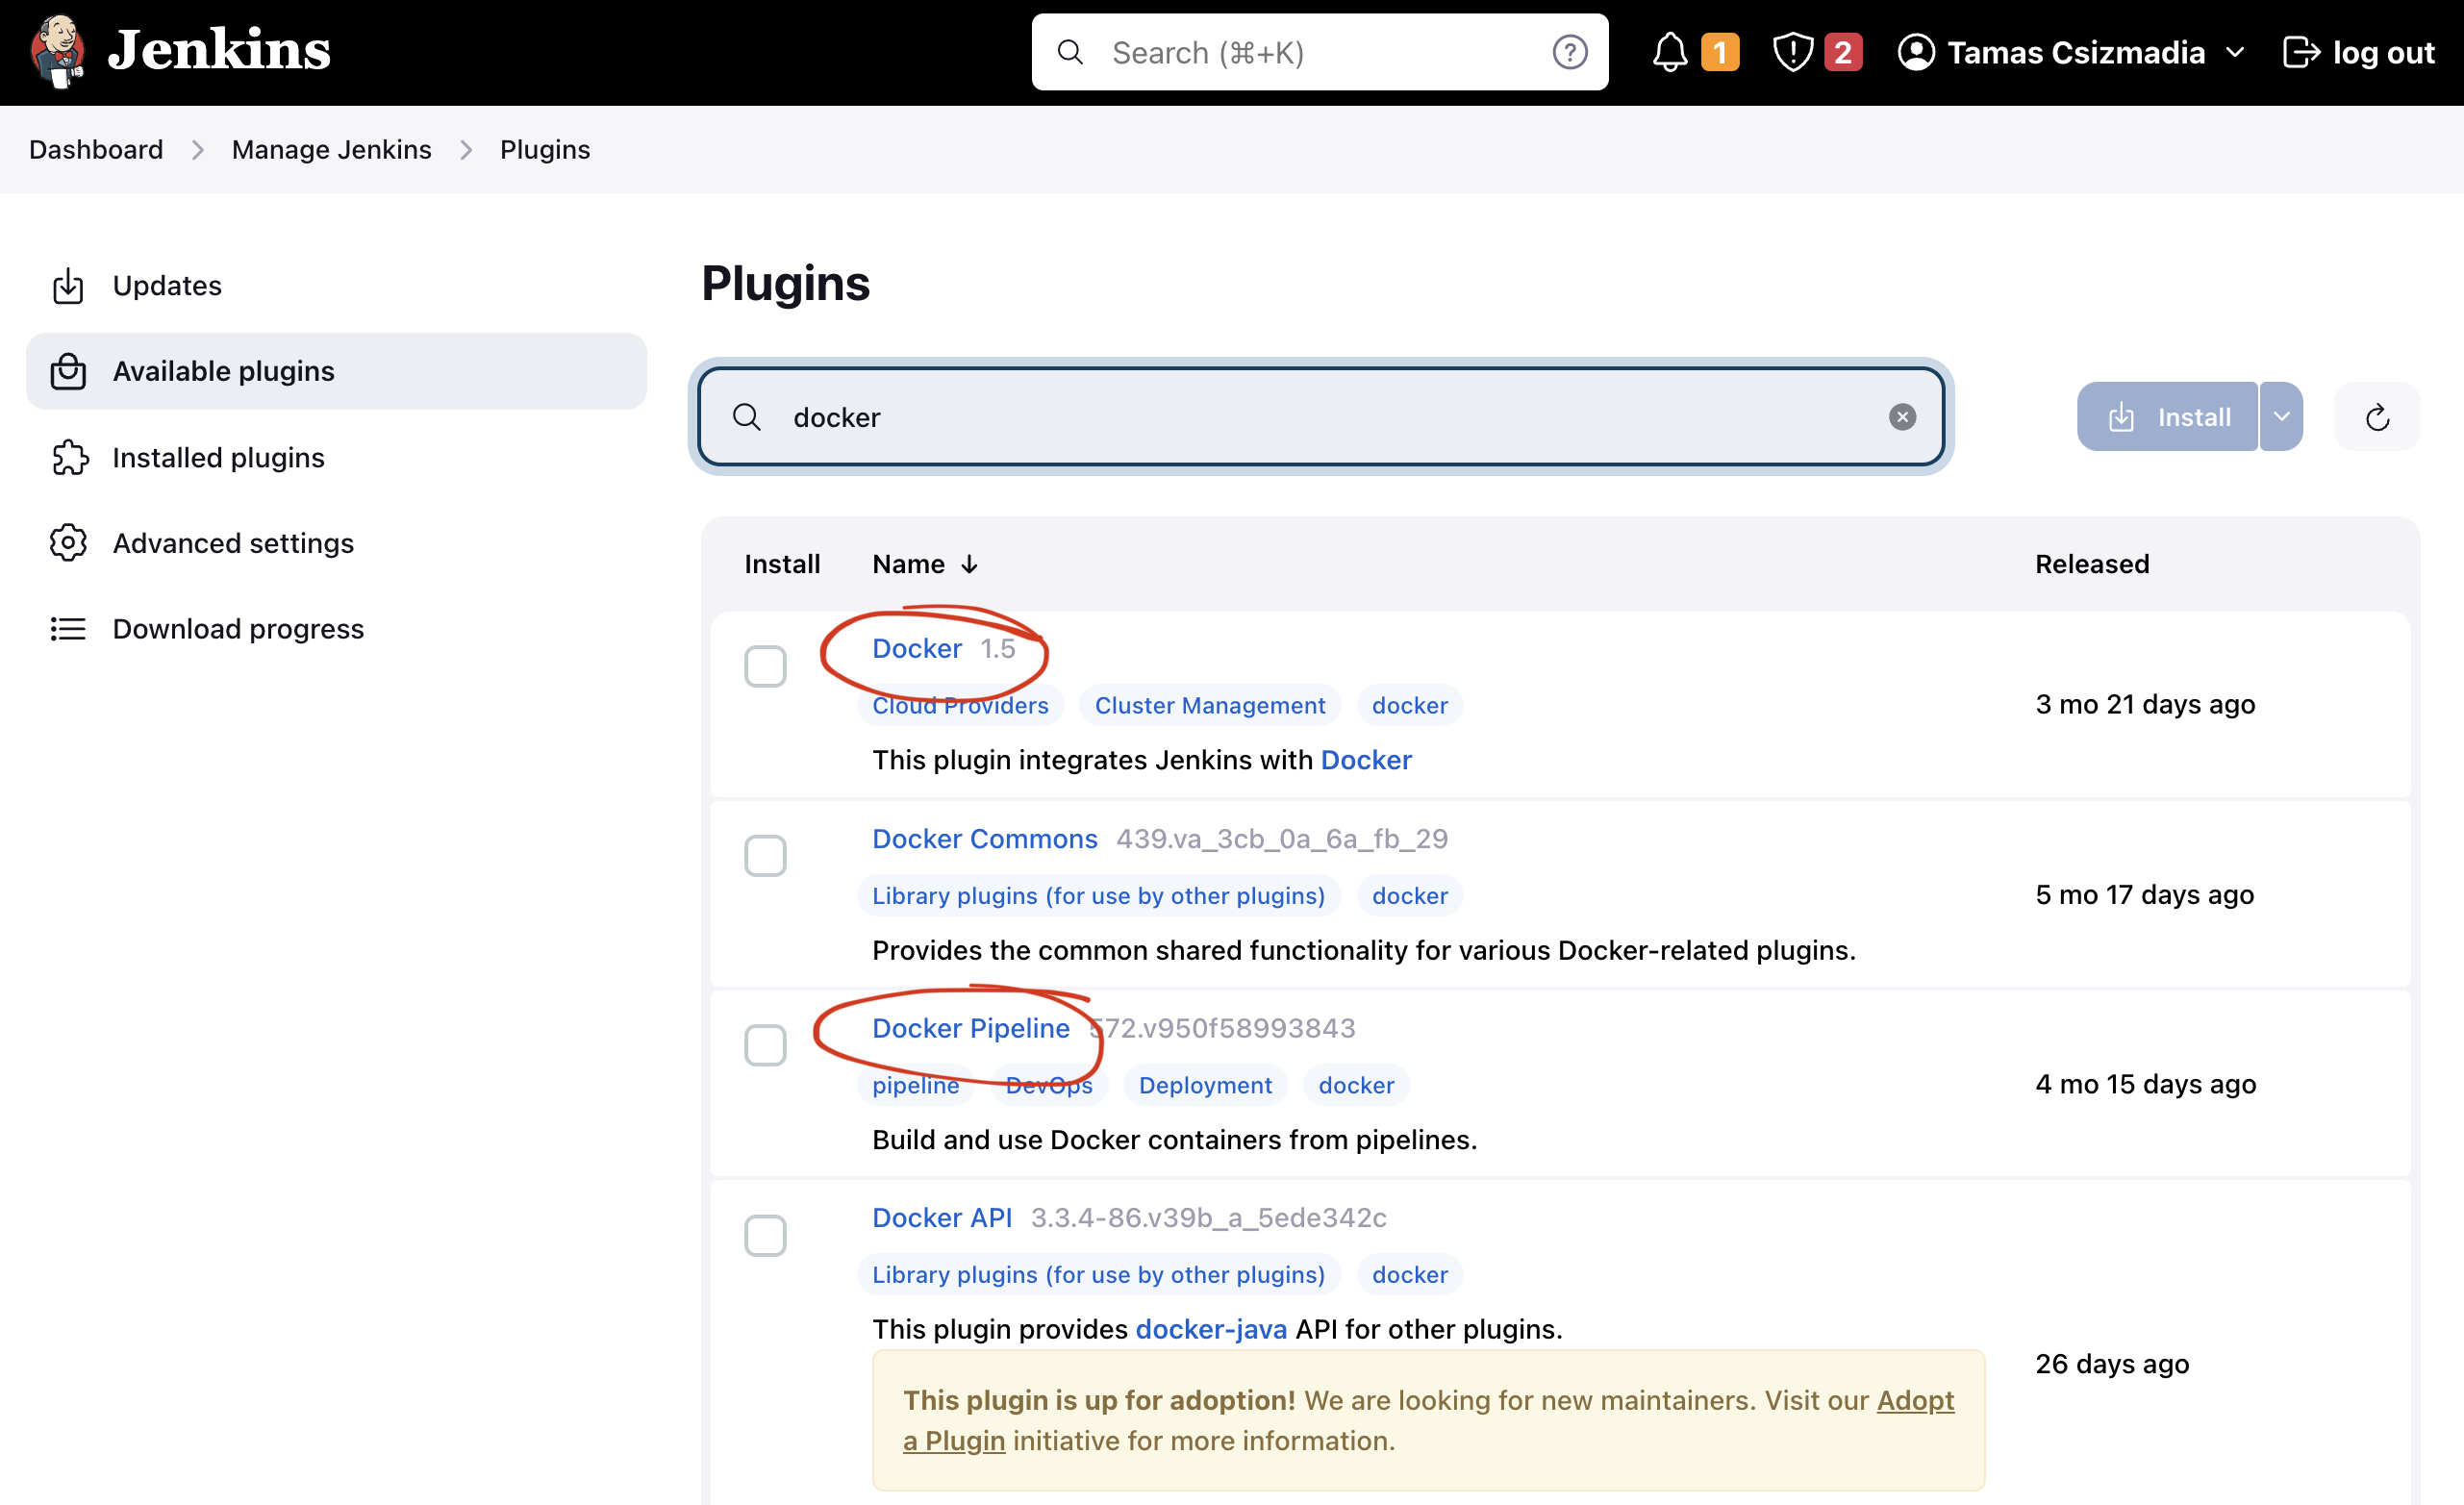
To kickstart the process, we only require two essential plugins: Docker and Docker Pipeline.
Begin by clicking on the “Manage Jenkins” link located on the left side of the screen. For now, disregard any notifications and navigate to the “Plugins” section under the “System Configuration” tab. Access the “Available plugins” option on the left panel and search for docker. Identify the two specified plugins and click the “Install” button.
Allow the installation to complete, then return to the top page by clicking “Go back to the top page.”
Create a Pipeline
 Photo by Samuel Sianipar on Unsplash
Let’s start with creating a Pipeline job and defining it declaratively. In this approach, we define the job within a Jenkinsfile, and it resides in our project’s Git repository. This allows us to embody our CI/CD pipeline as code, seamlessly integrating it with the source code of our scraping project.
First things first, initialize a new Git repository and create a Jenkinsfile in the root directory. If you don’t want to spend too much time setting it up from scratch, I invite you to use my sample code on GitHub. Alternatively, if you opt for a more hands-on approach, commit and push the Jenkinsfile to your GitHub repository, incorporating the contents detailed in the ‘Anatomy of our Pipeline section.’.
Proceed by clicking the “New Item” button on the Jenkins dashboard, then choose “Pipeline” from the options. Assign a meaningful name to your pipeline, and on the left panel, select “Pipeline.” Opt for “Pipeline script from SCM” as the definition. Choose Git as the “SCM”, and input the URL of your repository (e.g., https://github.com/tcsizmadia/scrapy-sandbox.git for my sample repository). In case you are dealing with a private repository, take note that creating credentials is necessary. Although not covered in this post, you can refer to the documentation provided here for detailed instructions on handling private repositories.
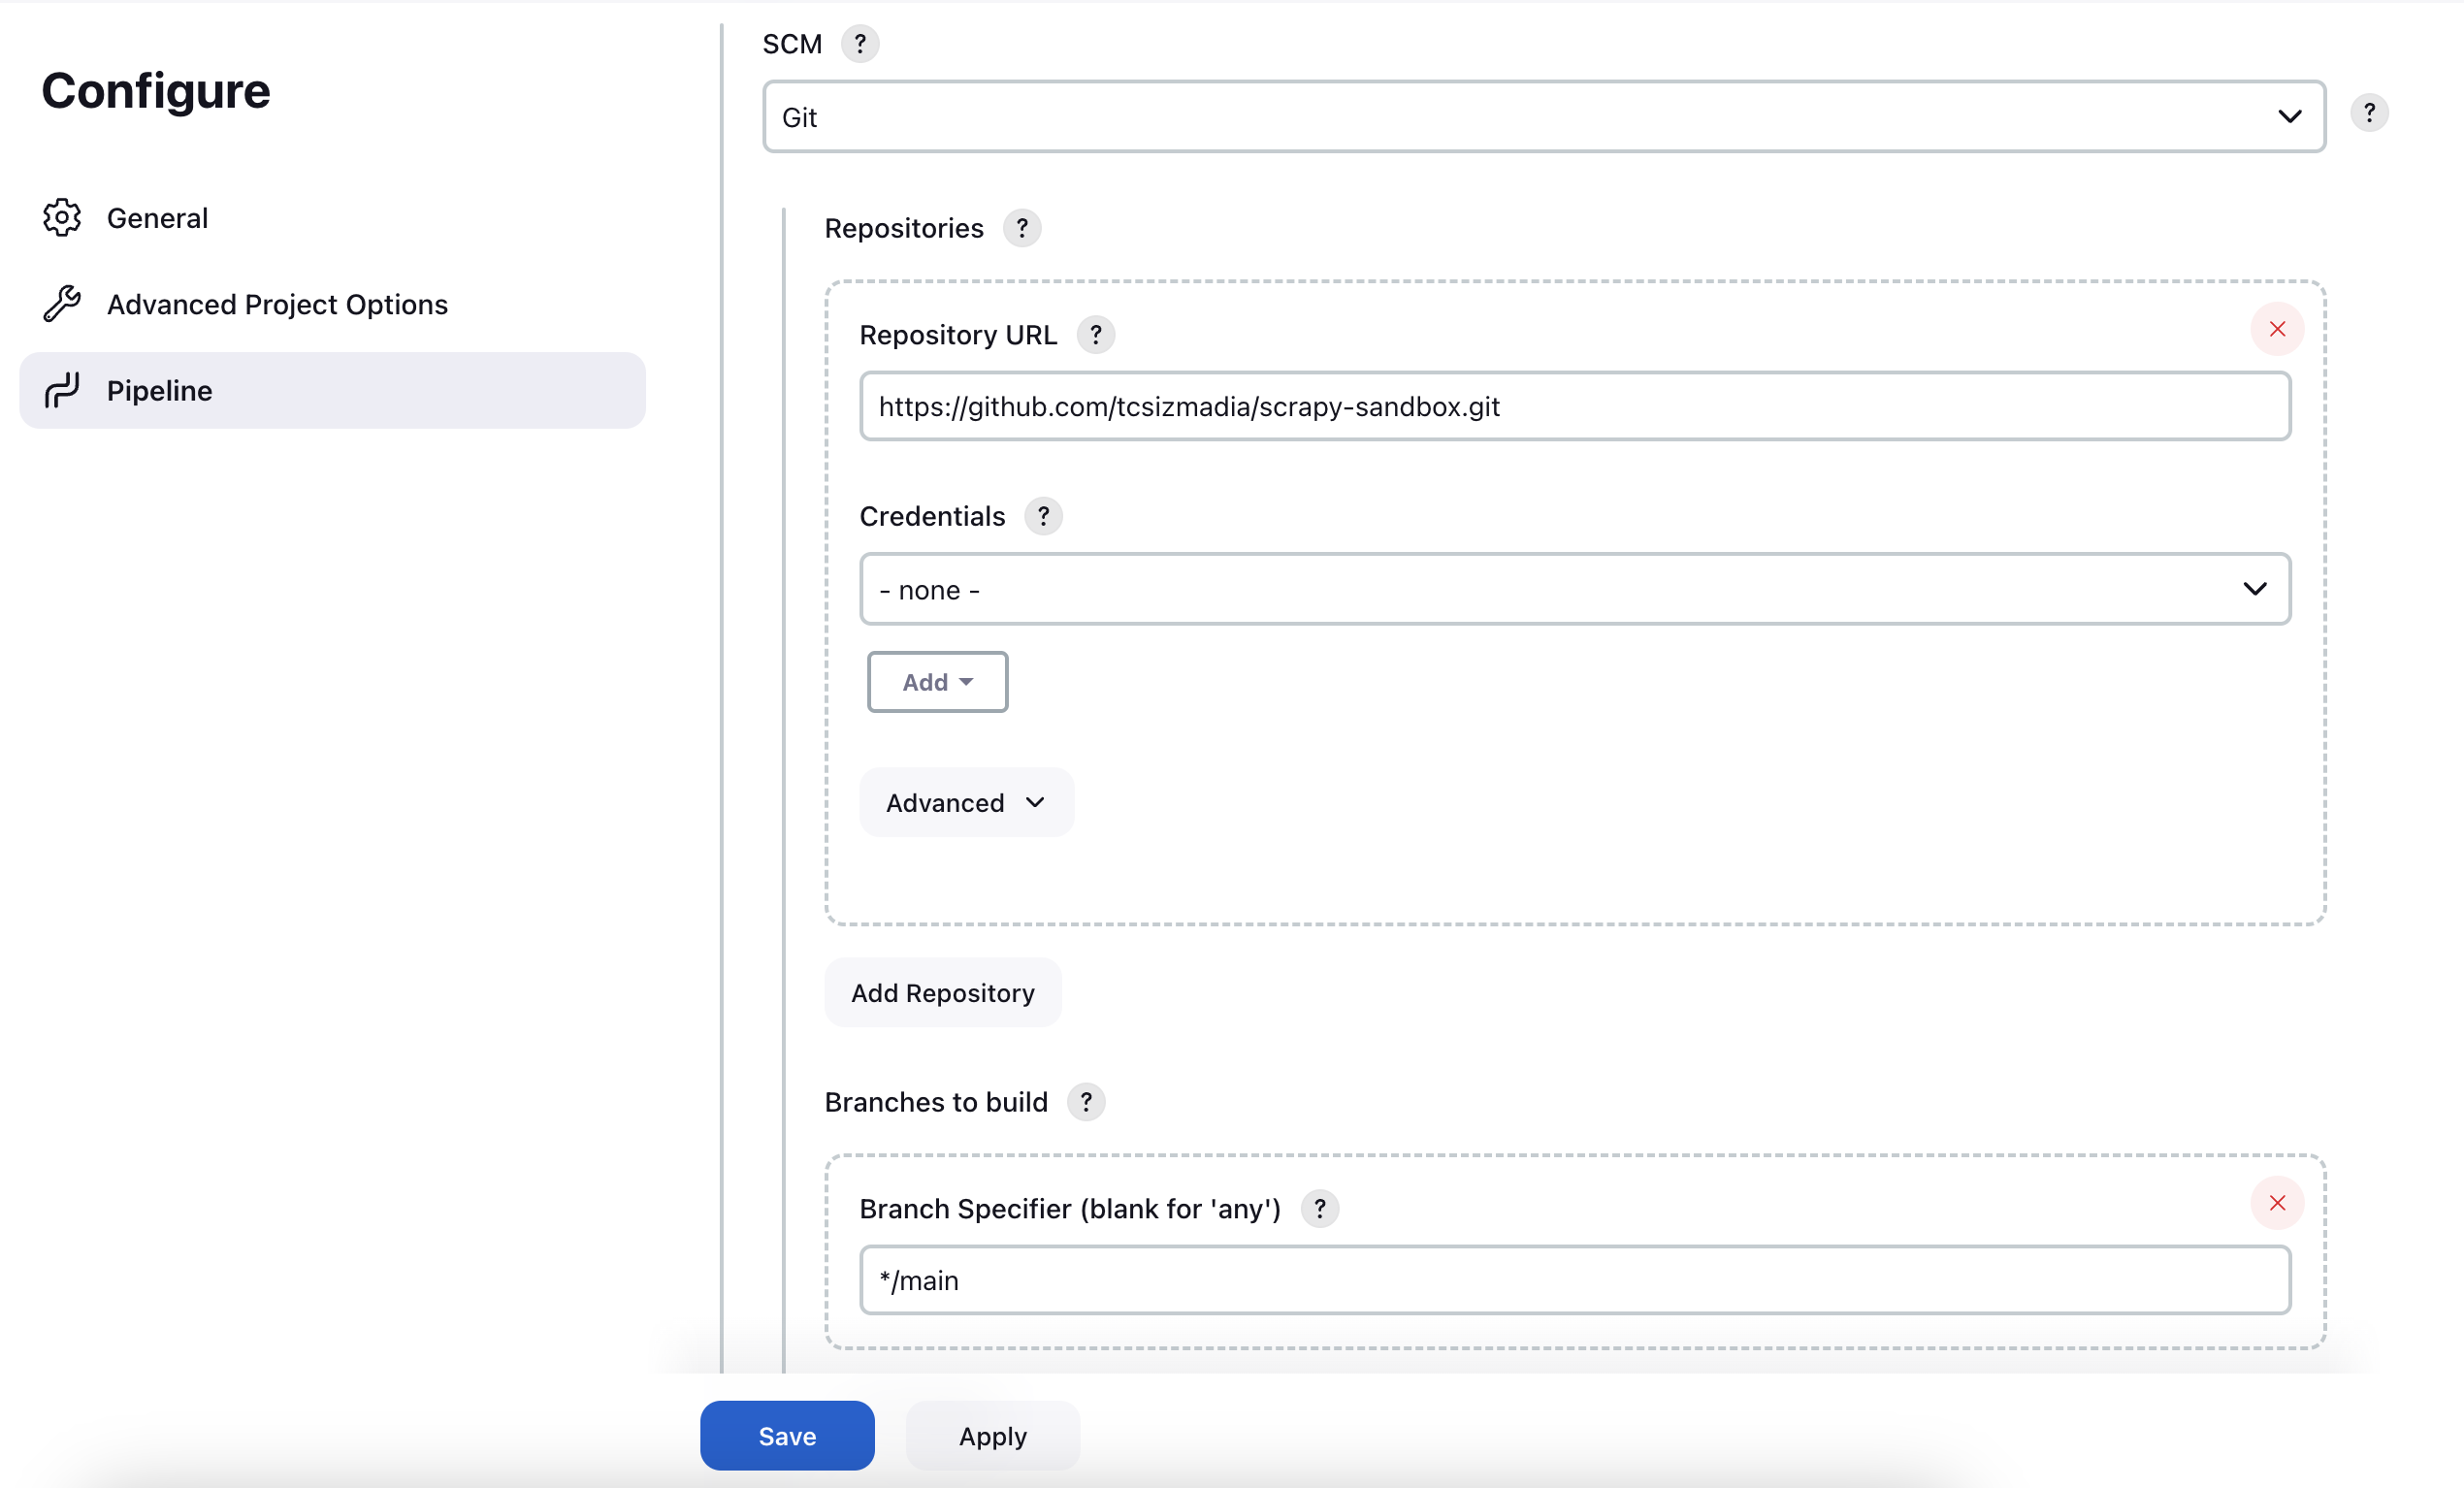
Please double check the default branch for the repository you specified for this Pipeline. My sample repository has a main branch instead of master, so you need to replace “Branch Specifier”’s */master with */main.
Finally, make sure the “Script Path” has the value: Jenkinsfile. If everything looks fine, click on “Save”.
Anatomy of our Pipeline
Before hitting that “Build Now” button, let’s take a look at the Jenkinsfile we will use for our Pipeline.
| |
Now, let’s break down the process step by step as there are several components in play. While I can’t promise you’ll become a Jenkins expert by the end of this post, I’ll do my best to demystify the elements at work here.
To start, we’ll employ our recently crafted scrapy-jenkins-agent image as the build agent. Essentially, Jenkins will initiate a Docker container based on this image to execute our Scrapy spiders within it. This is a good practice as it enables us to manage and customize the environment within which our spiders operate. An added benefit here is that we don’t need to install Scrapy or Python on our local machine.
| |
Moving forward, we proceed to define two parameters for our job. The first one is DRY_RUN, a boolean parameter with a default value of false. This parameter will be used to control whether we want to run our spiders or not. Why would we want to do this? Well, we might want to test, or update our pipeline without actually firing a scraping job. It’s quite useful when we add a new parameter or stage to our pipeline. The second parameter, SLACK_SEND is also a boolean parameter with a default value of false. Primarily, this parameter serves as a demonstration of how we could notify ourselves about the outcome of a specific scraping job. Feel free to consult the Slack plugin documentation if I piqued your interest.
| |
Now, let’s talk about the stages.
Pre-Flight Stage
It is a good practice to check the environment before we start the actual scraping. In this stage, we will check the Python and Scrapy versions. This sh steps will result in an error if python --version or scrapy version fails. This way, Jenkins will mark the build as failed (or red 🔴), and we will get notified about the problem.
| |
Scrape Website Stage
Now, let’s dive into the stage where the real action takes place. Here, we initiate the execution of our spiders. Notice the utilization of the DRY_RUN parameter to dictate whether we proceed with running our spiders. If DRY_RUN is set to true, a message will be printed to the console; otherwise, we execute our spiders. Additionally, the scraped data will be saved to a file named sandbox.json. If you’re not sure how this process works right now, no problem. We’ll take a closer look at it in the second part of this article and explain it step by step.
| |
Archive Stage
Generally, in a CI/CD Pipeline the archive stage is used to store the built artifacts (jar files, zip archives, for example). In our case, we will store the scraped data in a file called sandbox.json. This way, we can access the scraped data later, and we can also use it in other stages of our pipeline (cleaning or sanitizing, for example).
| |
Notify Stage
As I mentioned earlier, this stage is only a demonstration of how we could notify ourselves about the result of a given scraping job. In this case, we will send a message to a Slack channel. If you want to use this feature, you need to configure the Slack plugin first. You can find the documentation here. Feel free to remove it, as we won’t cover it in this post.
| |
Check 1, 2, 3
As the final section of this article, we are going to test what we’ve built so far.
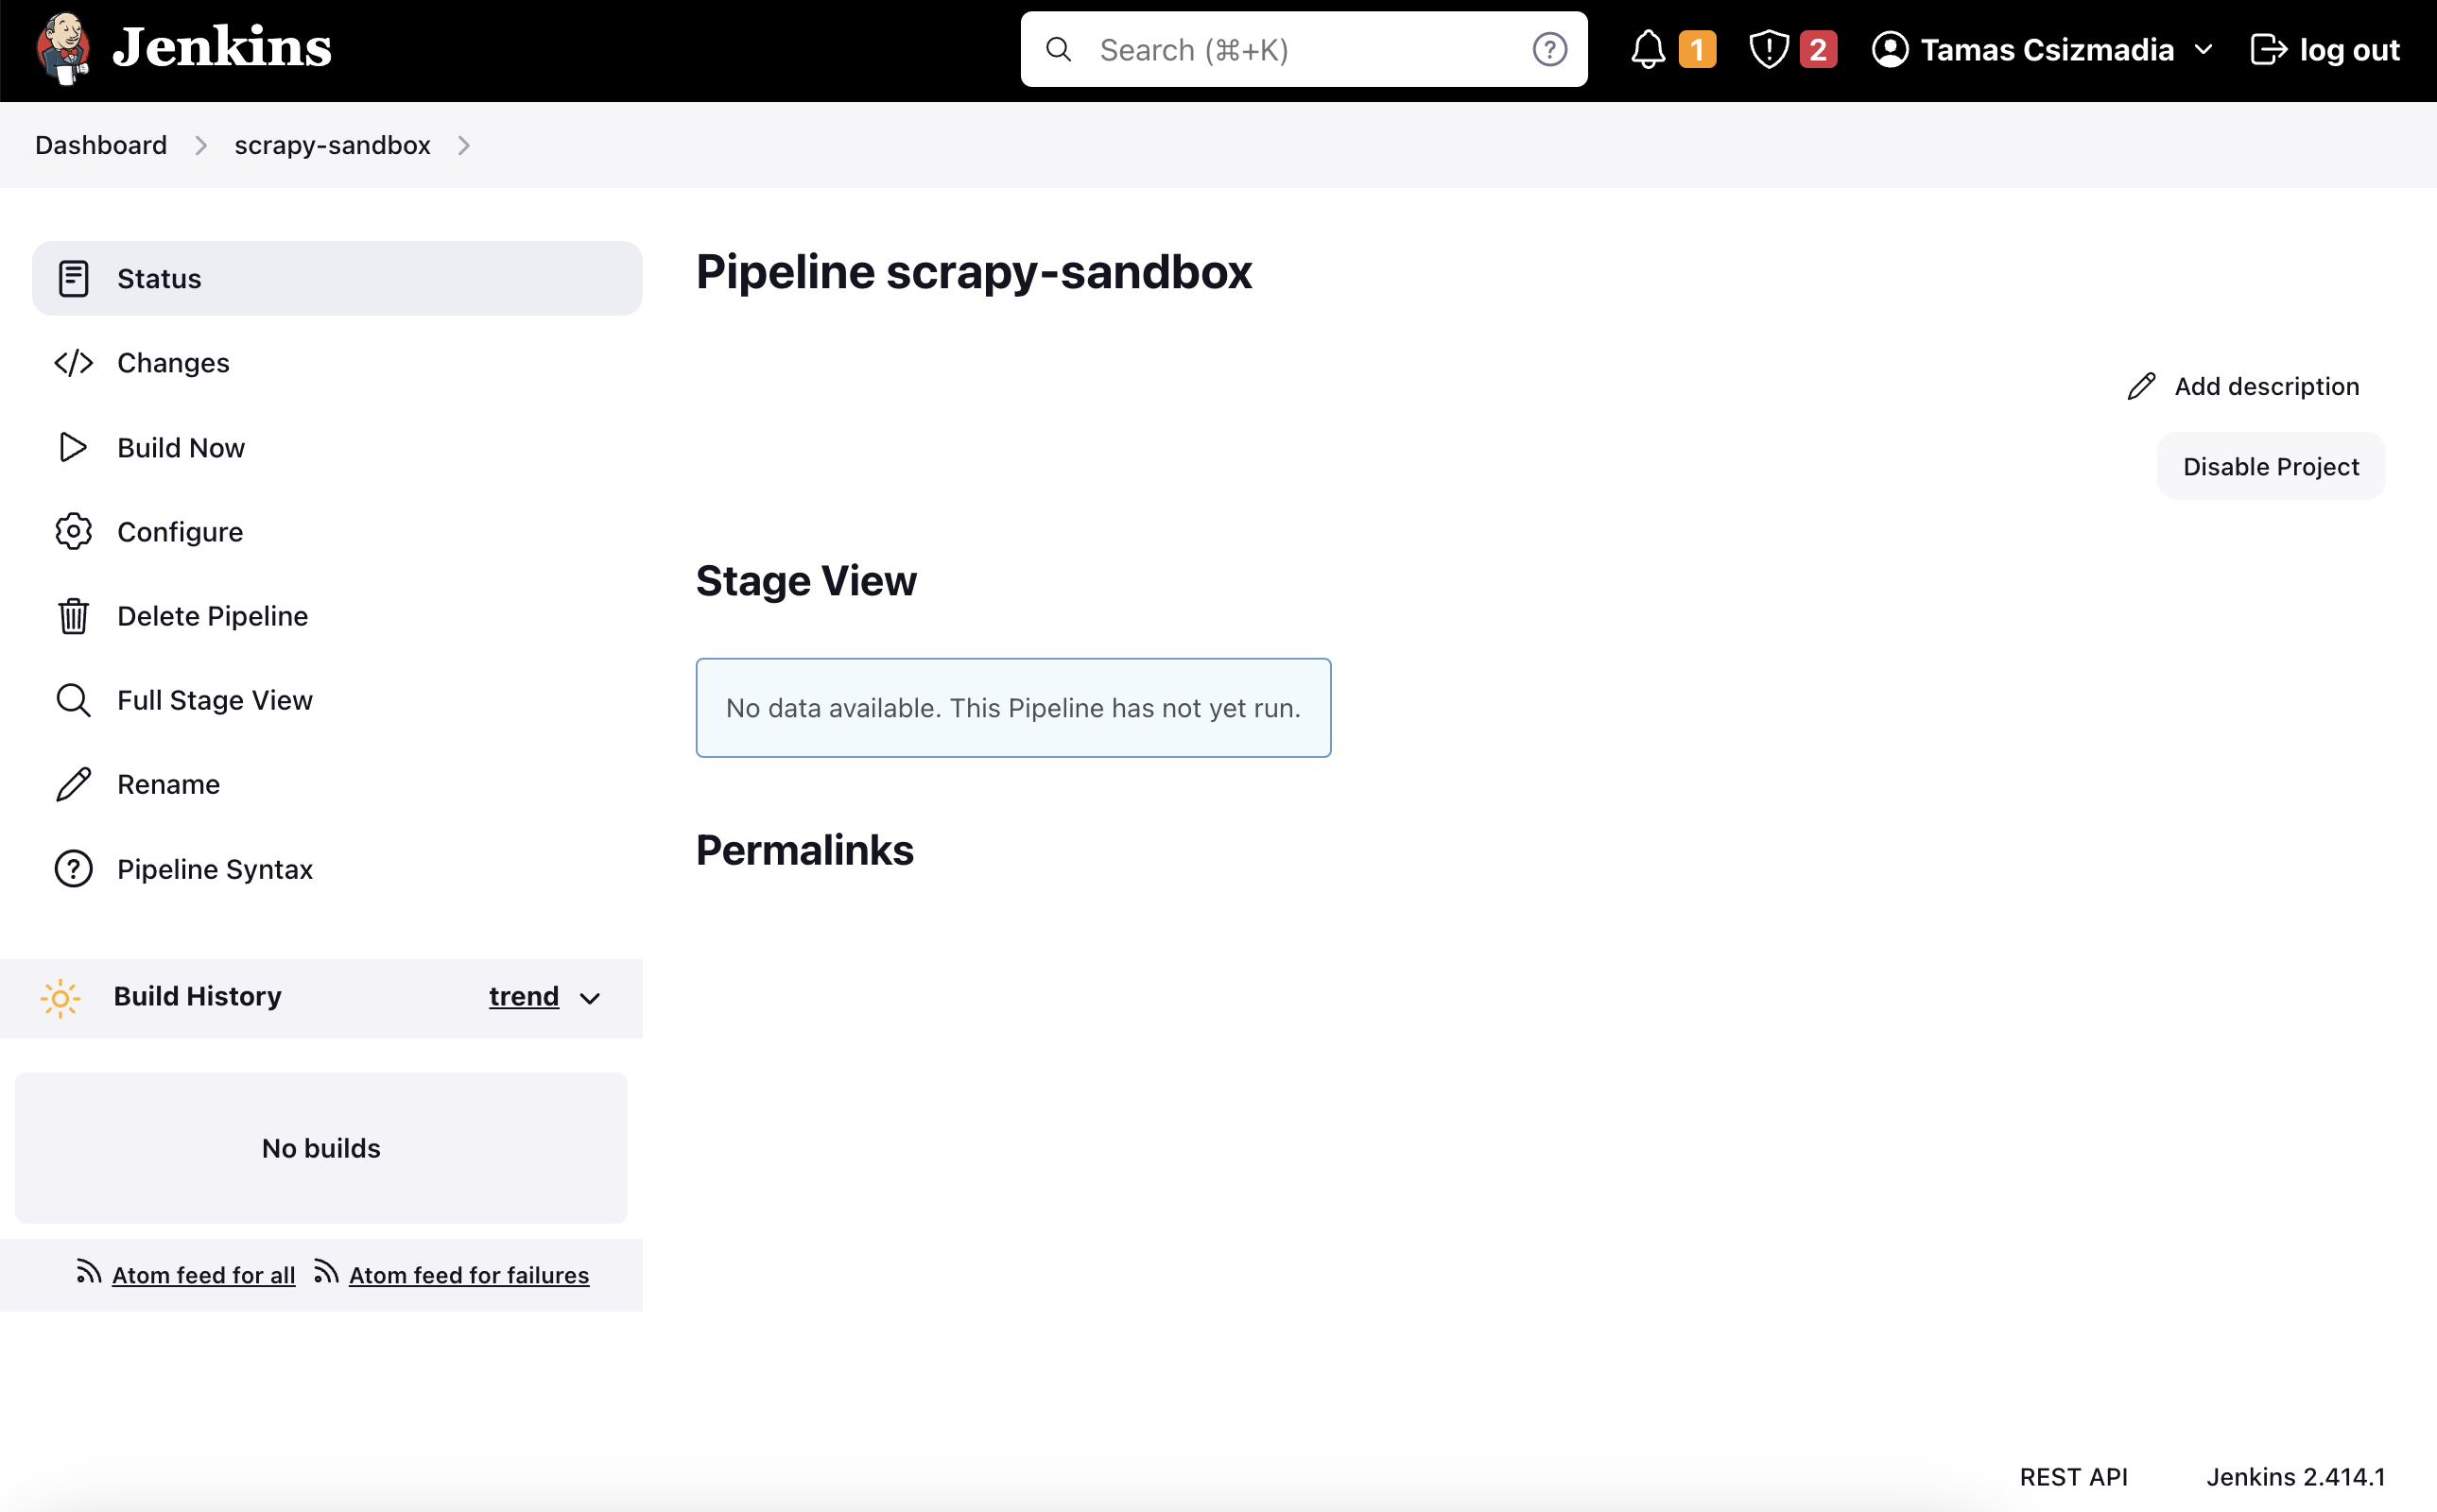
Let’s pick up where we left off. Click on the Build Now button on the left side of the screen. You will see a new build in the Build History section. And it failed! 🙀
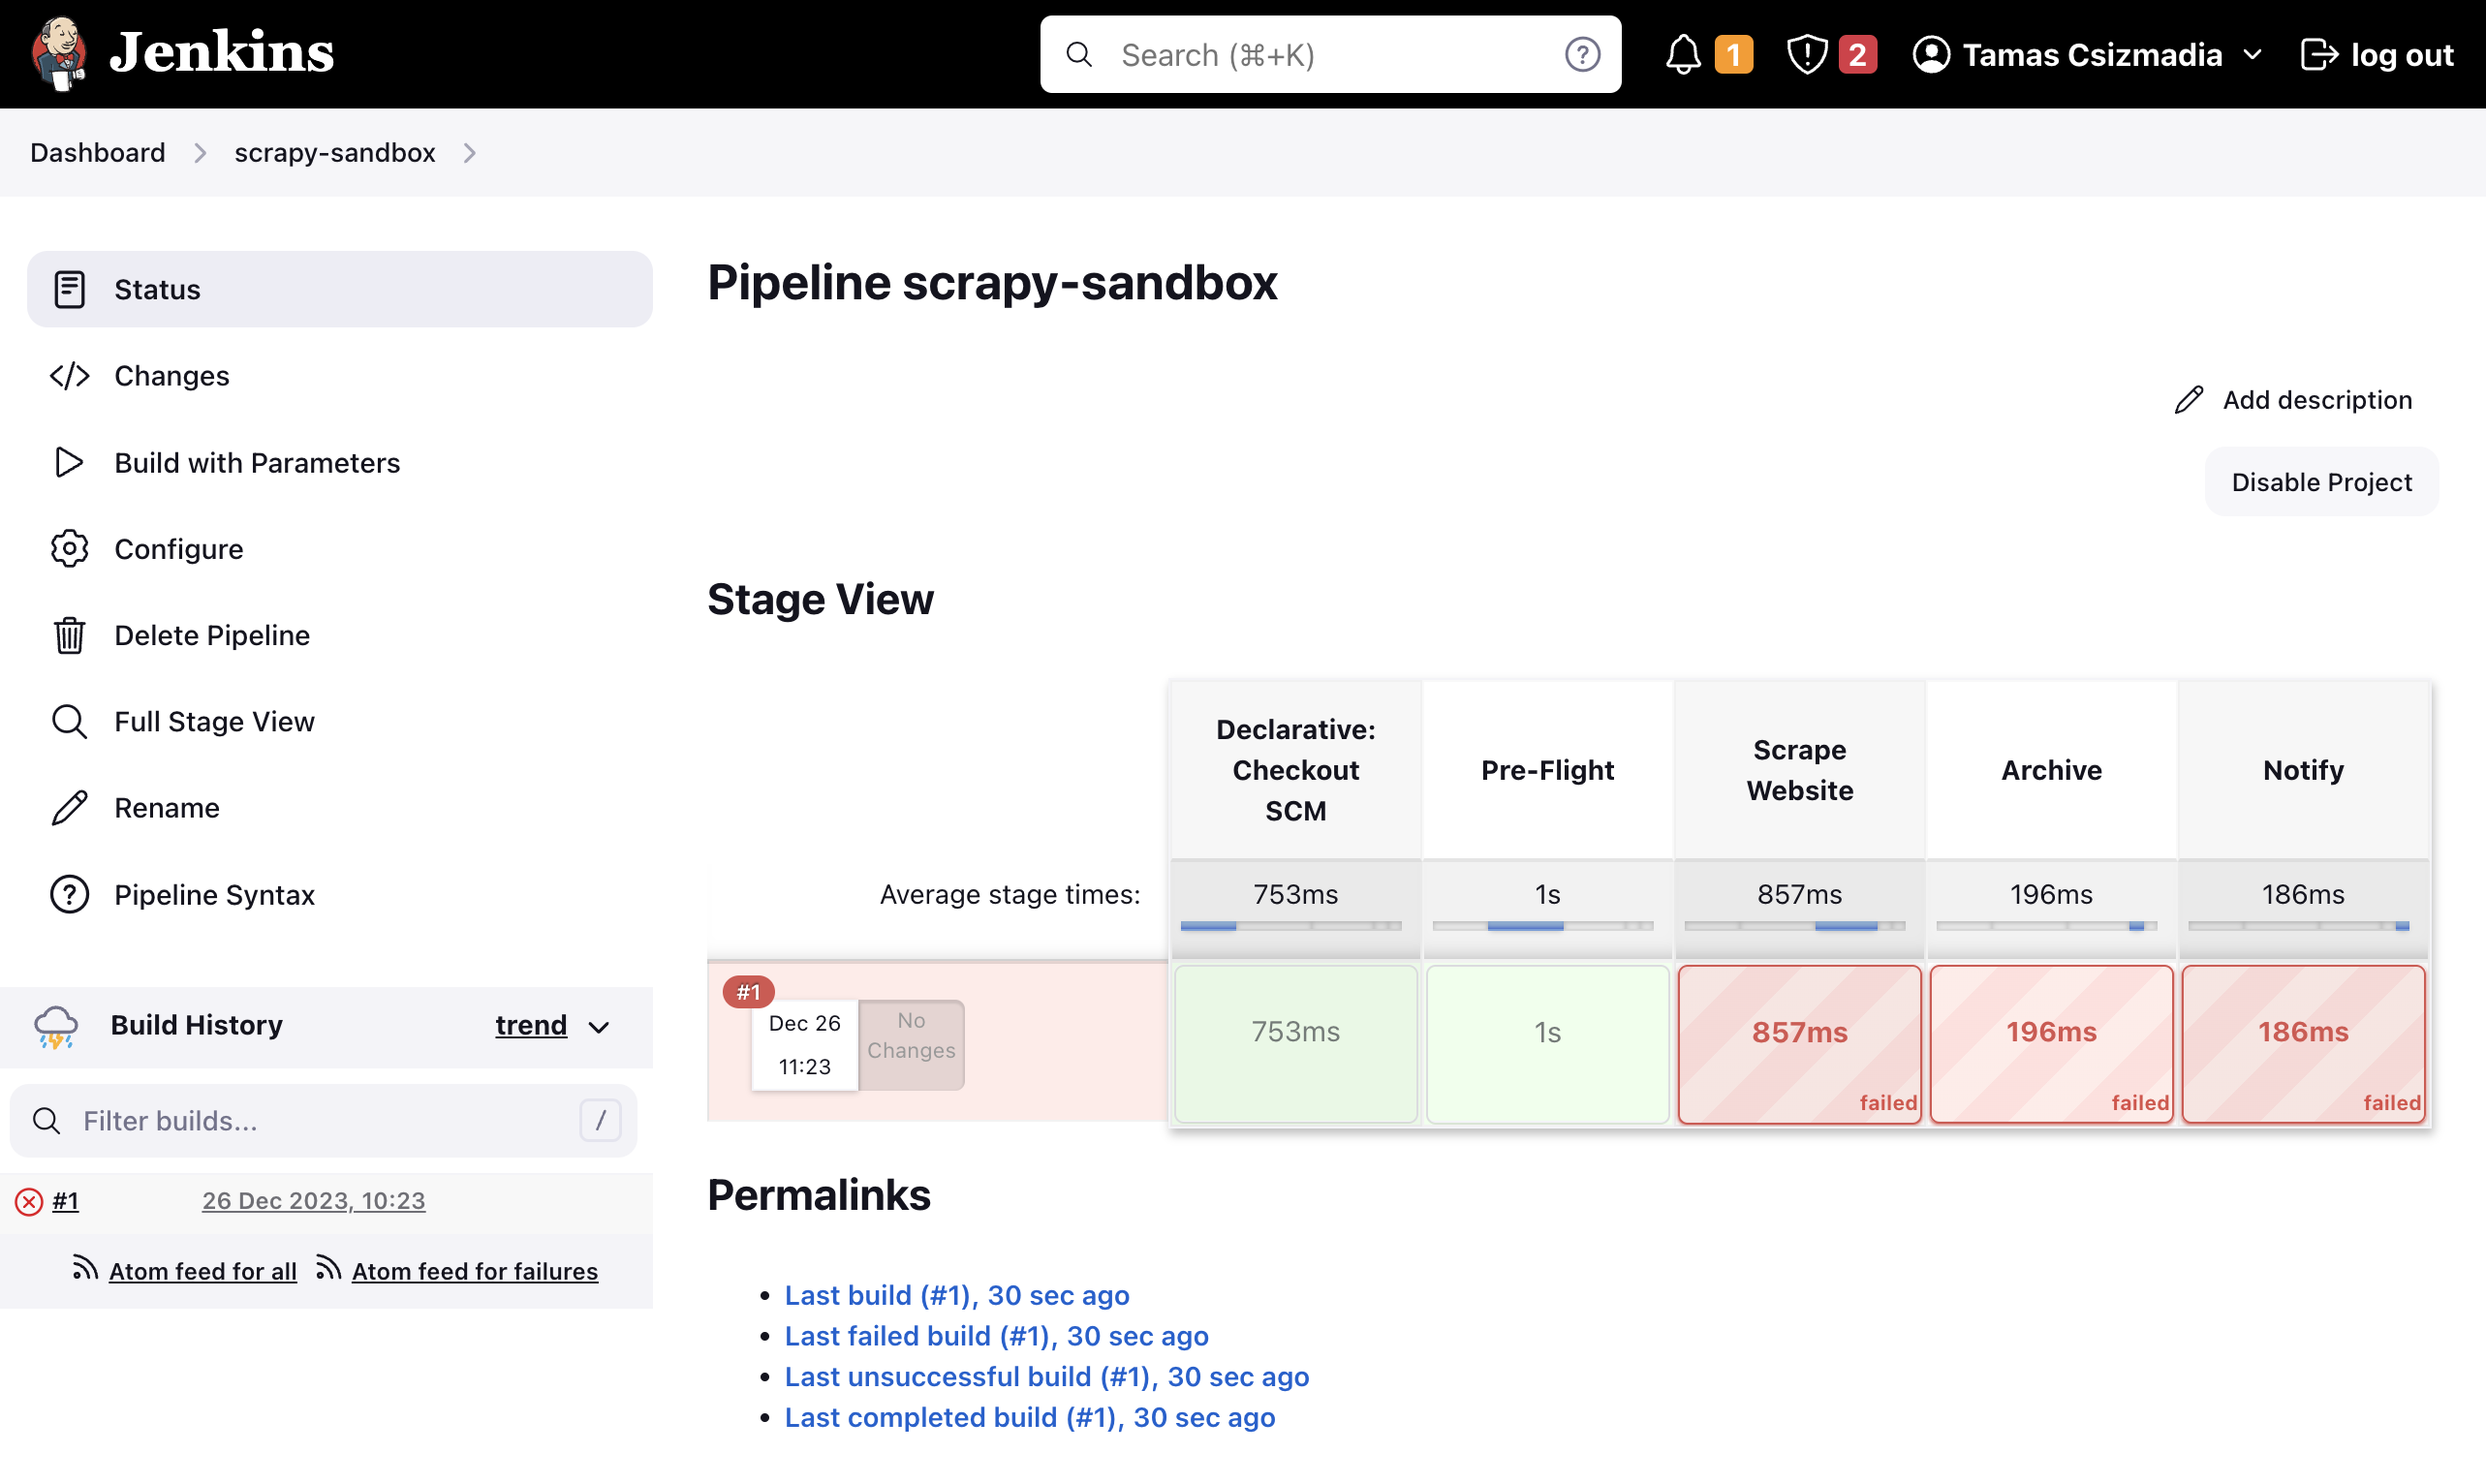
It’s not as bad as it seems. Before addressing the problem, please have a look at the stages we discussed earlier. Can you recognize them? Yes, Pre-Flight, Scrape Website, Archive – all of them are there. Now, as you may already figured out, the problem is that we don’t have a sandbox_spider in our project, so scrapy cannot invoke it. We won’t chew more than we can bite, so for now, we will do a “dry run”, and we will work on our spider in the 2nd part of this post.
If you look closely, you can see that the Build Now button has changed to Build with Parameters. Even if the first build failed, Jenkins managed to check out our repository and parse the Jenkinsfile. This means that we can use the DRY_RUN parameter to control whether we want to run our spiders or not. Click on the Build with Parameters button, and check the DRY_RUN parameter.
Press the Build button and wait until the build is done. If everything went well, you should see the build marked as successful! 🎉 In Jenkins terminology, we say the build is green. 🟢
That was the first part of our scraping journey. For now, you can shut down the Jenkins server:
| |
Summary
Great job today! 👏 We accomplished a significant amount of work. We successfully configured a Jenkins server along with a custom build agent, and we initiated the setup for running our Scrapy spiders through a Pipeline job. Additionally, we gained insights into leveraging parameters to efficiently manage the execution of our Pipeline—a valuable skill that will prove useful in the future.
In our upcoming session, we’re diving into the actual creation of the Scrapy project. Prepare yourself for the thrilling adventure of creating an actual, functional web spider! Stay tuned for more! 👋
